Manually add content: Category images and descriptions
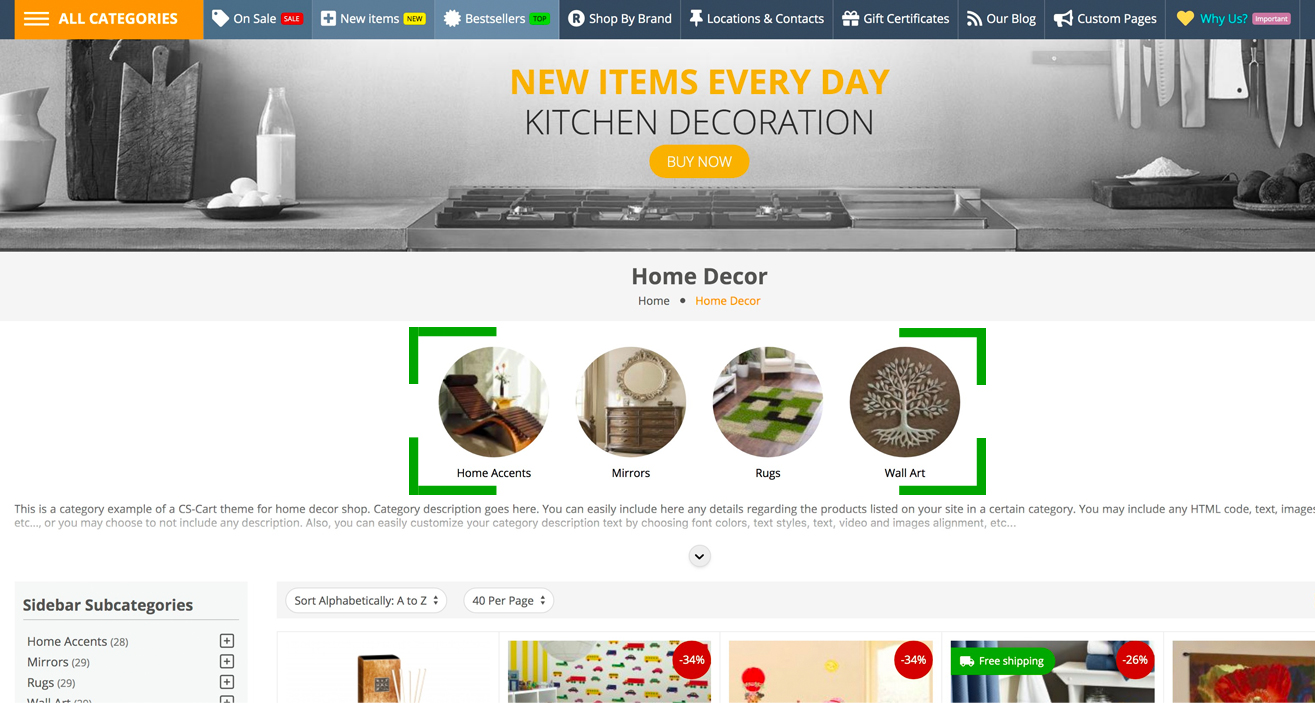
Any category you have a category image displayed on the site, as well as you can add any HTML description you want to any of the categories you have in your store. Below we’ll learn how to add a category image and a category description.
Add category images
Below we’ll explain how to add images to your categories, so please follow these steps:
- Step 1
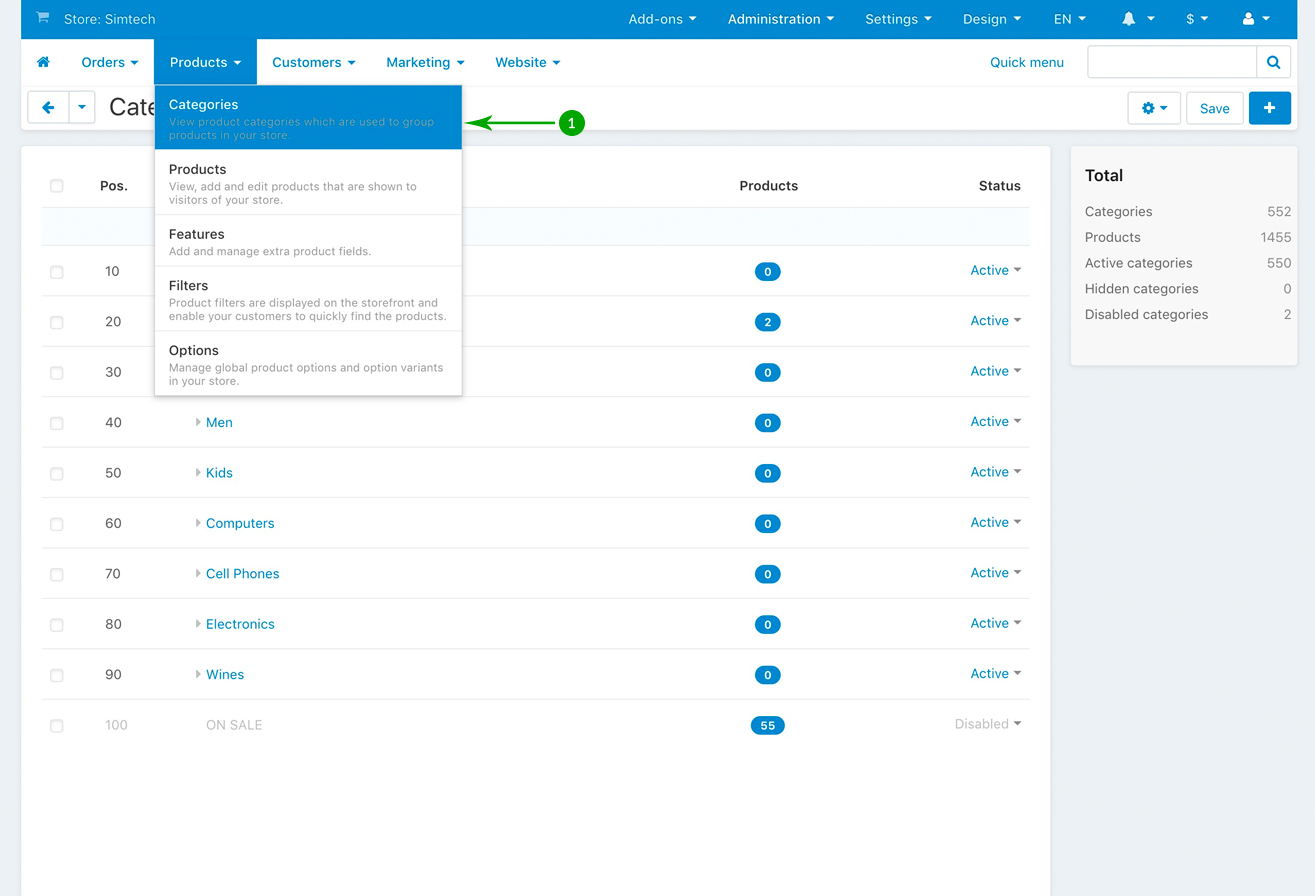
In your admin panel, go to “Products” - “Categories”
- Step 2
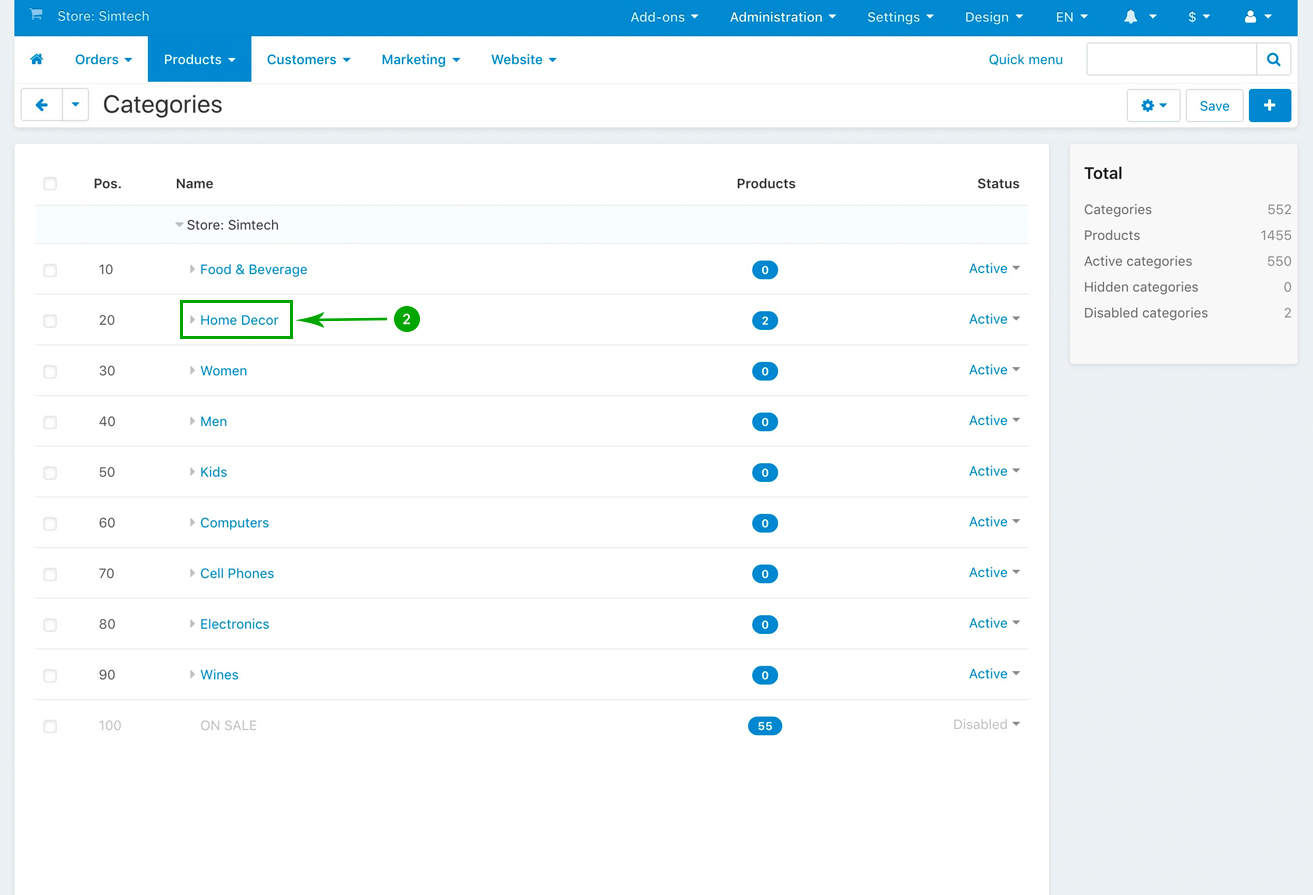
Click on the category that you want to add an image to
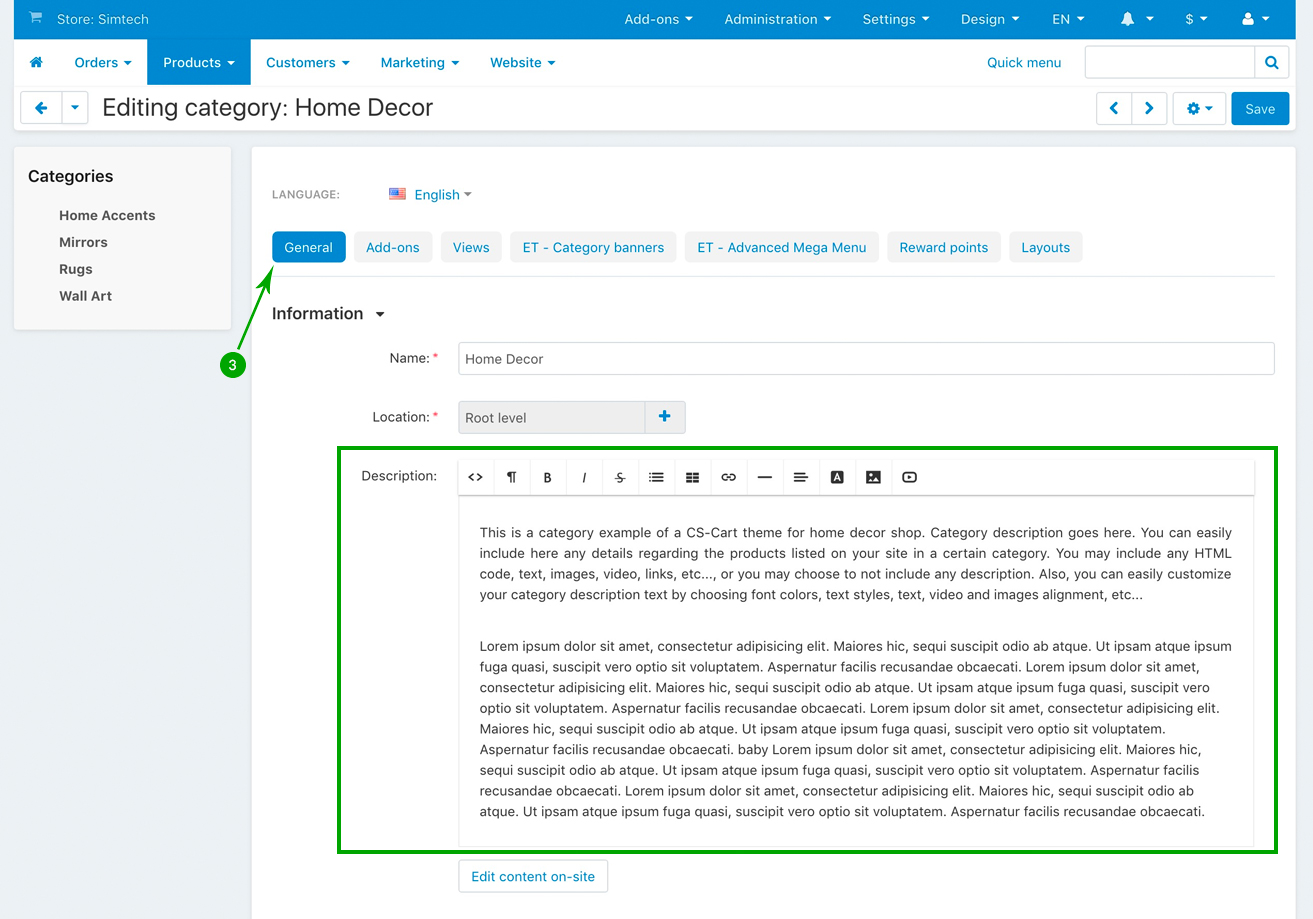
- Step 3
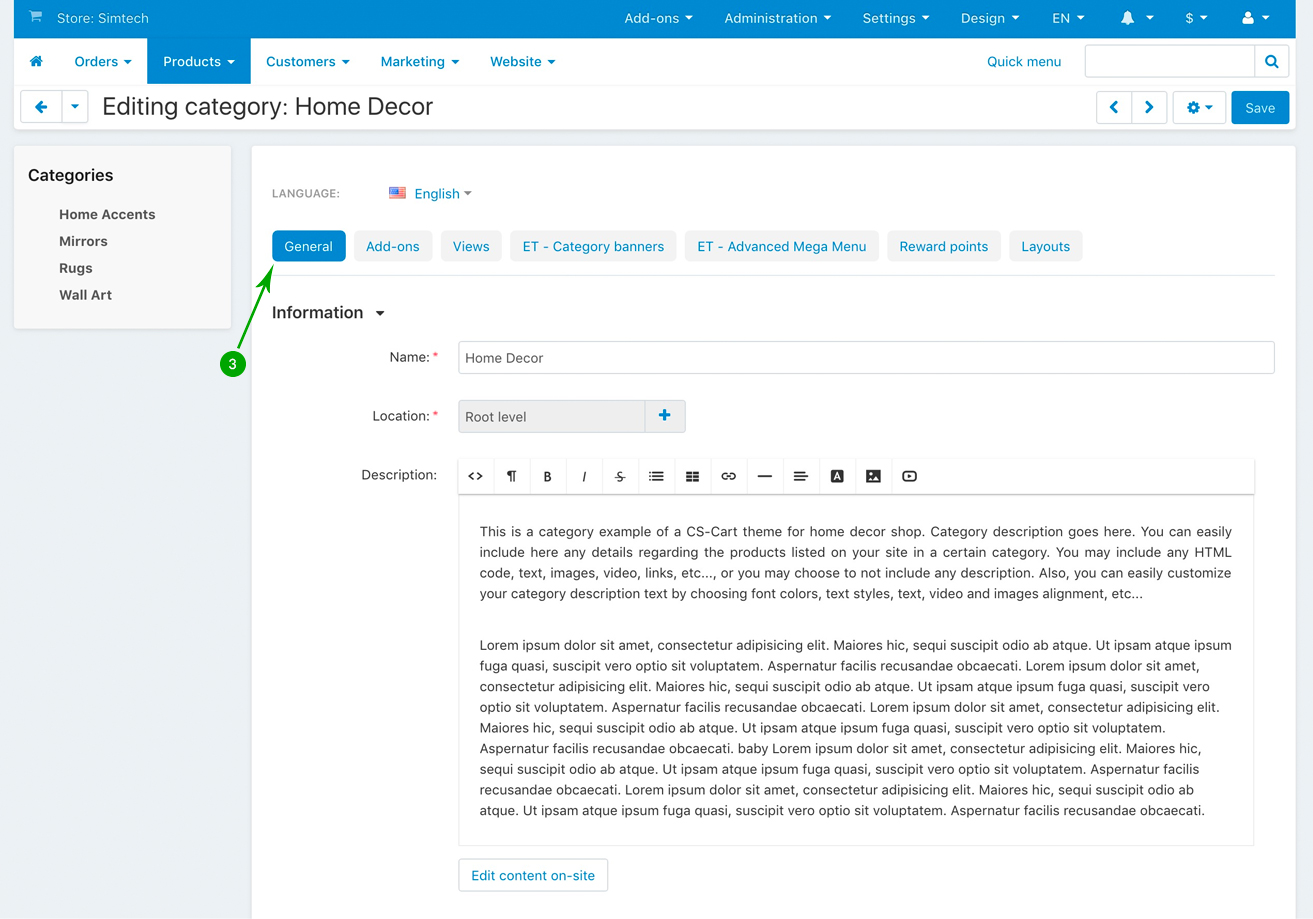
On the category editing page, stay under the “General” tab
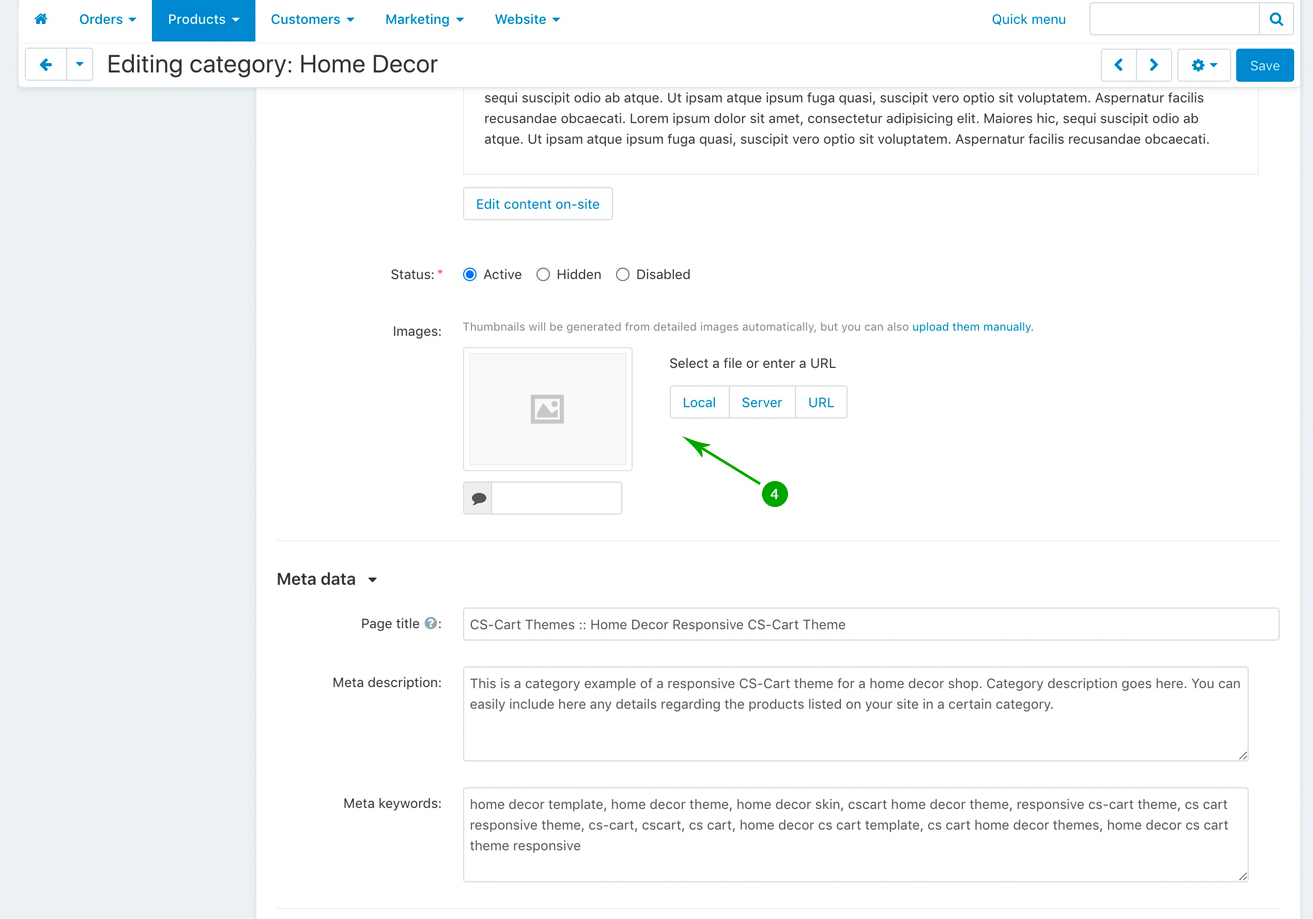
- Step 4
Under the “General” tab, scroll down until you get to the “Images” section, and add your category image. Images can be in square shape, the recommended size being 400px X 400px. When you’re done, click on the top right blue “Save” button
- Step 5
Repeat the above 4 steps to add your own images to any category or subcategory of your store.
Add category description
Below we’ll explain how to add any HTML description to your categories, so please follow these steps:
- Step 1
In your admin panel, go to “Products” - “Categories”
- Step 2
Click on the category that you want to add a description to
- Step 3
On the category editing page, under the “General” tab, add your HTML content under the “Description” section.
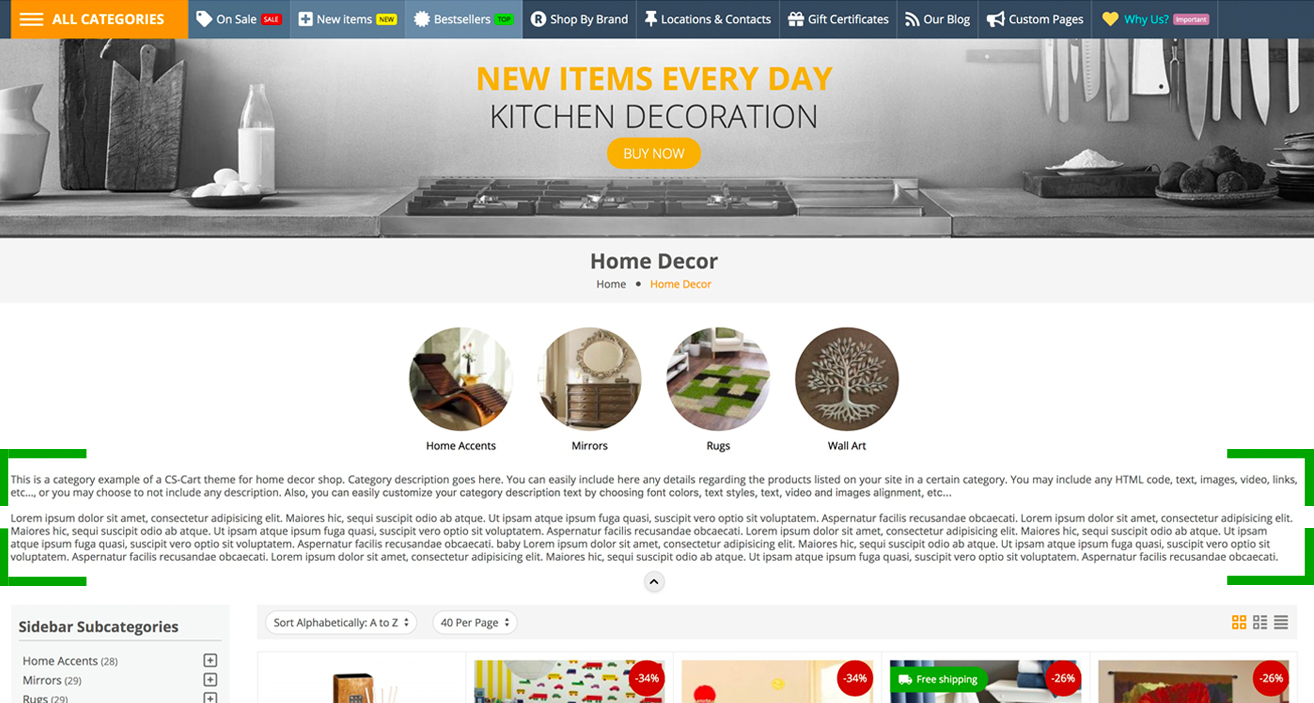
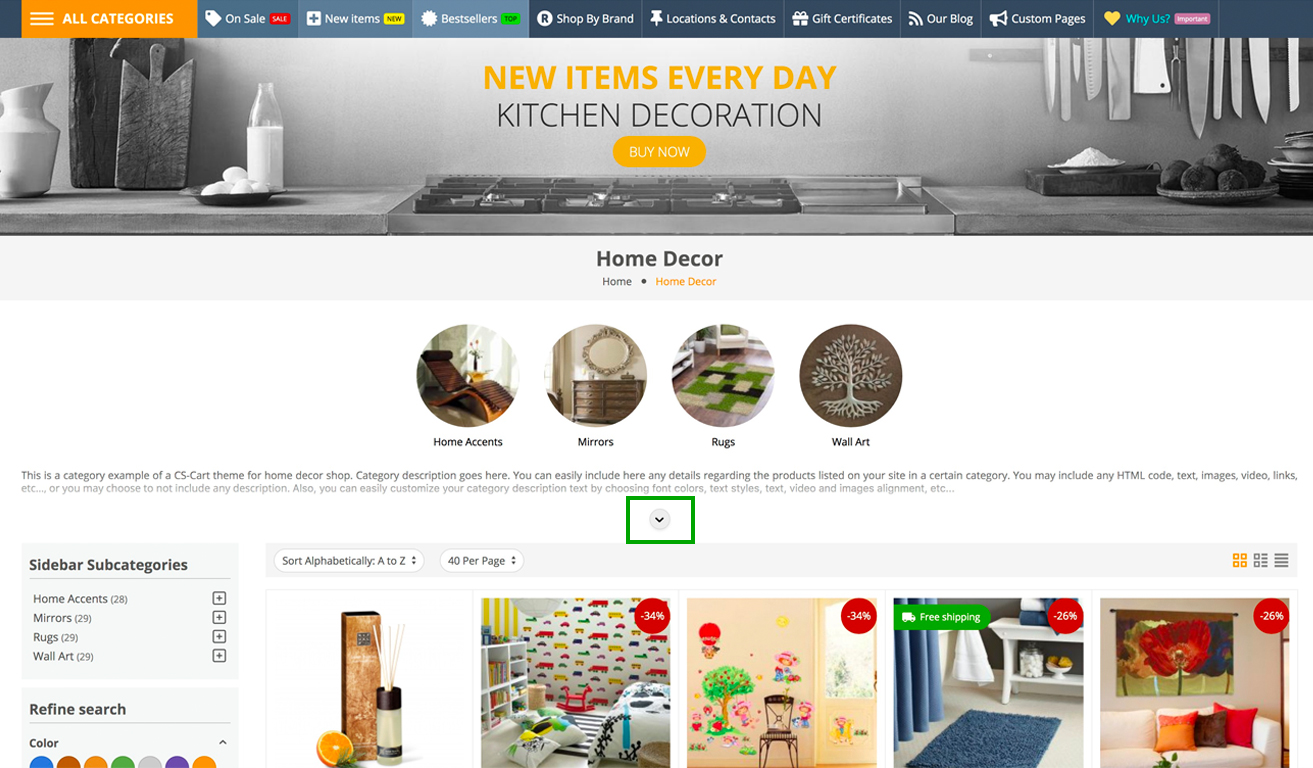
If the category description is too long, on the category page, the description will automatically be abbreviated and a view more arrow down button will appear so user may see the entire description. Conversely, once the description is expanded, the button will be replaced by an arrow up button, with a “view less” functionality.
- Step 4
Repeat the above 3 steps to add category description to any category or subcategory of your store.